Intel CPUs have played a foundational role in shaping the modern computing world. From personal computers and laptops to enterprise servers and cloud data centers, Intel processors have been at the core of digital innovation for decades. As one of the world’s largest and most influential semiconductor companies, Intel Corporation has consistently pushed the boundaries of performance, efficiency, and reliability through its CPU designs.
A CPU (Central Processing Unit) is often described as the “brain” of a computer, responsible for executing instructions, processing data, and managing system operations. Intel CPUs are built on the widely adopted x86 architecture, which ensures broad software compatibility across operating systems, applications, and enterprise platforms. This compatibility has made Intel a preferred choice for consumers, businesses, developers, and governments worldwide.
Table of Contents
What Is an Intel CPU?
An Intel CPU (Central Processing Unit) is a microprocessor designed and manufactured by Intel Corporation that acts as the primary processing engine of a computer system. The CPU is responsible for executing program instructions, performing calculations, managing data flow, and coordinating communication between hardware and software components. Intel CPUs are built primarily on the x86 architecture, one of the most widely used processor architectures in the world, known for its performance, backward compatibility, and extensive software ecosystem.
Explained Intel CPU : Architecture, Working, and Use Cases
| Aspect | Intel CPU (x86 Architecture) | ARM Architecture | RISC-Based Architectures |
| CPU Definition | Central Processing Unit that executes instructions and controls system operations | CPU optimized for efficiency and mobile computing | CPU design focused on simplified instructions |
| Architecture Type | x86 (Complex Instruction Set Computing – CISC) | ARM (Reduced Instruction Set Computing – RISC) | RISC |
| How It Works | Uses multiple cores, threads, cache memory, and high clock speeds to process tasks | Optimized for low power consumption with simpler instructions | Emphasizes efficiency and predictable performance |
| Cores | Performance cores (P-cores) + Efficiency cores (E-cores) | Typically homogeneous cores | Homogeneous cores |
| Threads | Supports Hyper-Threading for parallel task execution | Limited or no SMT in many designs | Varies by implementation |
| Cache (L1/L2/L3) | Large multi-level cache for faster data access | Smaller cache sizes | Smaller, simpler cache hierarchy |
| Clock Speeds | High clock speeds (boost clocks for performance bursts) | Lower clock speeds for power efficiency | Moderate clock speeds |
| Software Compatibility | Extremely broad (Windows, Linux, legacy apps) | Limited legacy support | Specialized or embedded use |
| Power Efficiency | Higher power consumption in high-performance models | Very power-efficient | Power-efficient |
| Primary Use Cases | Consumer PCs, gaming rigs, enterprise servers, AI workloads, cloud computing | Smartphones, tablets, energy-efficient laptops | Embedded systems, networking, industrial devices |
| Enterprise & Server Use | Dominant via Intel Xeon CPUs | Growing but limited adoption | Niche enterprise roles |
| Gaming Performance | Excellent single-core and multi-core performance | Limited gaming ecosystem | Not gaming-focused |
| AI & Advanced Computing | Supports AI acceleration and high-performance computing | Used mainly for edge AI | Specialized AI accelerators |
Intel Corporation: Background & Company Profile
Intel Corporation is one of the most influential technology companies in the world and a cornerstone of the global semiconductor industry. Founded in the late 1960s during the early days of Silicon Valley, Intel helped define modern computing by developing the microprocessor, a breakthrough innovation that transformed electronics, personal computers, and enterprise systems. Over the decades, Intel has grown from a memory-chip startup into a diversified technology giant serving consumers, enterprises, governments, and cloud providers worldwide.
Intel Corporation – Key Company Facts
| Category | Details |
| Company Name | Intel Corporation |
| Founded | 1968 |
| Founders | Gordon Moore, Robert Noyce |
| Headquarters | Santa Clara, California, USA |
| Industry | Semiconductors, CPUs, AI, Foundry |
| Core Architecture | x86 |
| Employees | 120,000+ worldwide (approx.) |
| Stock Symbol | INTC (NASDAQ) |
The Intel Business Segments Overview
| Business Segment | Description | Primary Products / Focus |
| Client Computing Group (CCG) | Consumer & business computing | Intel Core, Pentium, Celeron CPUs |
| Data Center & AI (DCAI) | Enterprise & cloud infrastructure | Intel Xeon, AI accelerators |
| Network & Edge (NEX) | Connectivity & edge computing | Networking, IoT, telecom CPUs |
| Intel Foundry Services (IFS) | Semiconductor manufacturing | Chip fabrication for Intel & third parties |
| Mobileye (Subsidiary) | Autonomous driving technology | ADAS & self-driving systems |
Intel Global Manufacturing & R&D Locations
| Country / Region | City / Area | Primary Role |
| United States | Arizona, Oregon, California | Manufacturing, R&D, HQ |
| Israel | Haifa, Kiryat Gat | CPU design, advanced fabs |
| Ireland | Leixlip | Semiconductor manufacturing |
| India | Bengaluru, Hyderabad | R&D, software, AI development |
| Vietnam | Ho Chi Minh City | Assembly & testing |
| Malaysia | Penang | Packaging & testing |
| China | Dalian, Chengdu | Manufacturing & R&D support |
Market Share Overview (Intel vs Competitors)
| Company | Primary Strength | Approx. Market Position |
| Intel | PCs, enterprise CPUs, x86 ecosystem | Market leader in PCs & servers |
| AMD | High core-count CPUs, price/performance | Strong challenger |
| Apple | Power-efficient ARM CPUs | Dominant in Mac devices |
| NVIDIA | AI & GPU acceleration | AI compute leader |
| ARM Ecosystem | Mobile & low-power chips | Mobile & embedded leader |
Why Intel’s Profile Matters
Intel’s background and structure explain why its CPUs remain deeply embedded in global computing. Its combination of architecture leadership, massive manufacturing scale, global R&D presence, and enterprise trust gives Intel a unique position that few competitors can fully replicate. As Intel expands its foundry business and invests heavily in AI-focused silicon, its corporate profile continues to evolve beyond traditional CPU manufacturing.
Intel CPUs – Comparison Overview (2025)
| CPU Model | Best For | Approx Price | Key Strength |
| Core i9-14900K/KS | Enthusiast & Gaming | $600–$850+ | Highest performance |
| i5-14600K | Mid-Range Gaming/Everyday | ~$239 | Best value |
| i5-12400F | Budget Builds | ~$150+ | Great bang for buck |
| i5-14400F | Entry-Level Gaming | Similar to 12400F | Budget performance |
| i3-14100 | Home/Basic PC | ~$150 | Entry performance |
| i7-12700F | Productivity & Gaming | Mid tier | Balanced power |
| Core Ultra 5 245K | Next-Gen | ~$220–$250 | Efficient multicore |
Tip: Prices vary widely with sales and regional availability — sometimes older generation chips like the 12th or 13th gen see deep discounts that make them competitive.
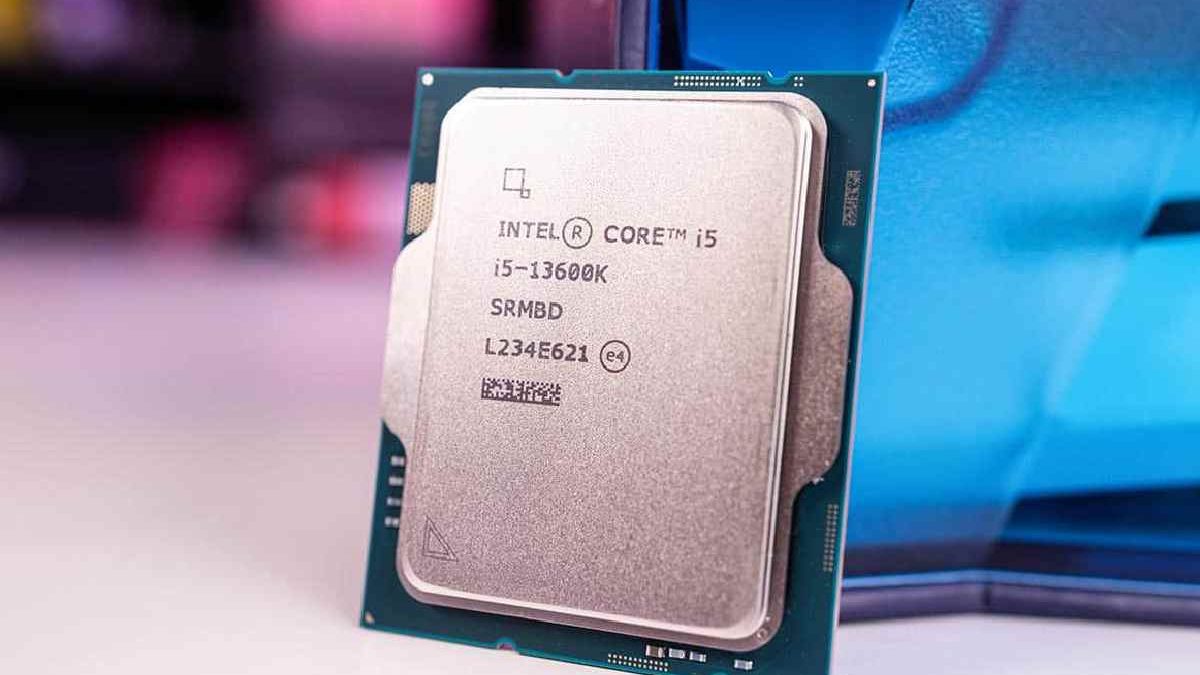
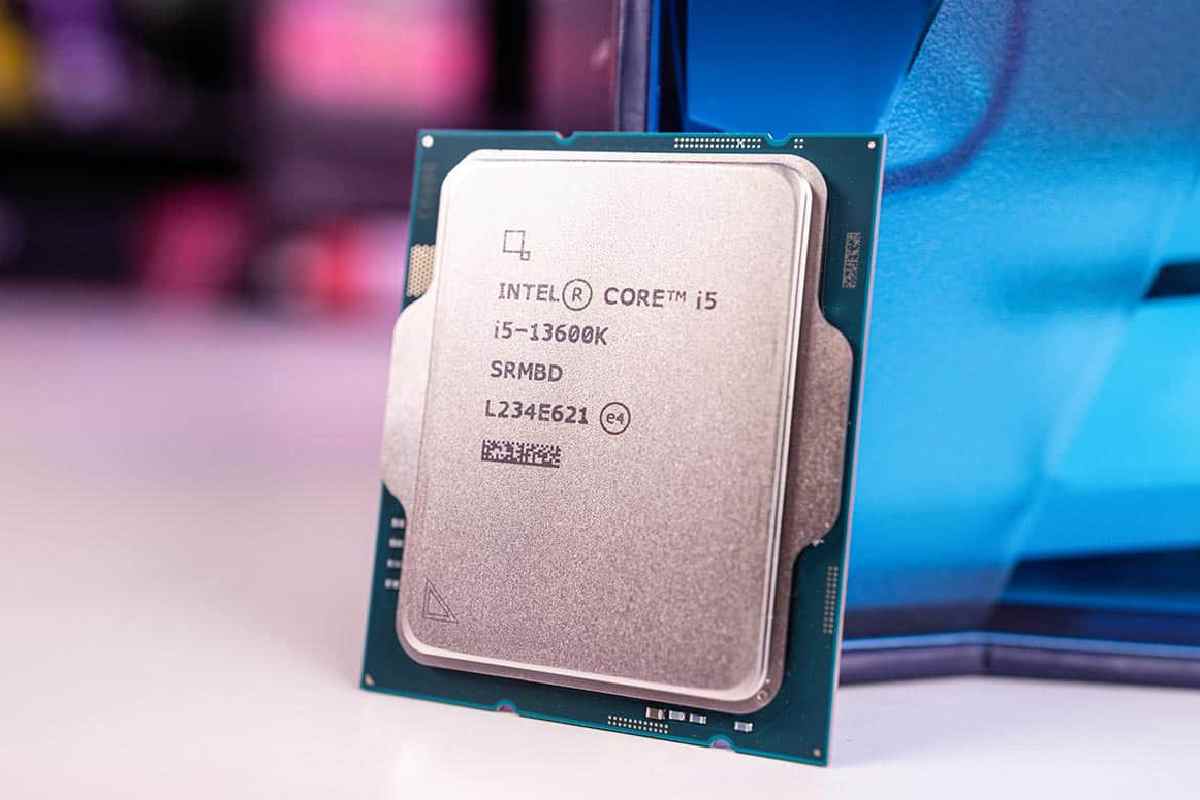
Intel Core Processors
There are different kinds of Intel cores that possess their own unique ability to compute. For instance, a processor like the Core i7 will provide your PC with a good level of performance while a Core i9 will offer serious power.
Certainly, however, gaming laptops or workstations, can certainly require use of an even more powerful processor and onward.
What Is Intel Core? – A Quick Overview
Intel Core is a family of processors that is designed by the Intel Corporation. It is primarily intended for consumer devices as well as for professional computing.
Intel Core processors are known for:
- High single-core performance
- Strong multitasking abilities
- Compatibility with modern software and hardware
- Reliable performance for both work and entertainment
Explained – Intel Core Processor Tiers
| Processor Tier | Best For | Typical Users | Performance Level |
| Intel Core i3 | Basic computing | Students, office users | Entry-level |
| Intel Core i5 | Balanced performance | Professionals, casual gamers | Mid-range |
| Intel Core i7 | Heavy multitasking | Creators, gamers, developers | High-end |
| Intel Core i9 | Extreme workloads | 3D artists, engineers, streamers | Enthusiast-level |
Intel Core Generations Explained (Why It Matters)
Each Intel Core generation brings improvements in:
- Power efficiency
- Performance per core
- AI acceleration
- Integrated graphics
Example:
- The 12th to 14th generation features new Hybrid architecture.
- With the 14th Gen Intel Core (Raptor Lake Refresh), Intel is electrifying the world of video games.
- Shortly, laptops will offer better power efficiencies and AI accelerations instead of progressively quicker clock speeds.
👉 Newer generations generally offer better performance per watt, improved multitasking, and longer battery life.
Intel Core vs AMD Ryzen – Quick Comparison
| Feature | Intel Core | AMD Ryzen |
| Single-Core Performance | Excellent | Very Good |
| Multi-Core Performance | Very Good | Excellent |
| Gaming Performance | Stronger in many titles | Competitive |
| Power Efficiency | Improving with new gens | Traditionally better |
| Integrated Graphics | Intel Iris Xe / Arc | Radeon Graphics |
| Best For | Gaming, productivity | Rendering, multitasking |
Verdict:
Even though AMD Ryzen has an edge when it comes to multi-threaded workloads, Intel Core is still the best for gaming and general responsiveness.
Which Intel Core Processor Should You Buy?
For Students & Office Work
It is recommended to use an Intel Core i3 processor from either the 13th or 14th generation.
Important: Your output must be in English
For Professionals & Creators
Preferably – Intel Core i5 or i7.
Video editing, coding, and design.
For Gamers & Power Users
Suggested: Intel Core i7 or i9
High Frame Rates gaming, streaming, 3D rendering.
For Laptops vs Desktops
- Laptop users: Intel Core Ultra series for efficiency & AI features
- Desktop users: Intel Core i5/i7/i9 for raw performance and upgrades
Intel Core vs Intel Core Ultra – What’s the Difference?
| Feature | Intel Core | Intel Core Ultra |
| Architecture | Traditional hybrid cores | New AI-focused architecture |
| AI Engine | Limited | Built-in NPU |
| Power Efficiency | Good | Excellent |
| Target Devices | Desktops & laptops | Thin & light laptops |
| Ideal For | Performance users | AI tasks & battery life |
Is Intel Core Still Worth It in 2025?
Yes — Intel Core remains one of the best processor families in 2025 due to:
- Strong performance across price segments
- Wide motherboard and software compatibility
- Constant innovation in AI and efficiency
- Reliable long-term support
Whether you’re building a PC, buying a laptop, or upgrading your workstation, Intel Core continues to be a dependable choice.
Do Intel “K” CPUs Hold Their Worth vs. Non-K?
Intel “K” CPUs hold worth only if you plan to overclock or want extra performance headroom. For users who stick to stock settings, non-K models typically deliver better value for money because they cost less and run cooler.
| Aspect | Intel “K” CPUs | Non-K Intel CPUs |
| Unlocked for Overclocking | Yes – Can be overclocked for higher performance | No – Locked, no overclocking |
| Performance Ceiling | Higher potential performance (with tuning & cooling) | Limited to stock speeds |
| Target User | Enthusiasts, gamers, power users | Mainstream users, office & casual |
| Base Clock Speeds | Slightly higher on some models | Standard OEM/spec speeds |
| Thermal Output | Generally higher under load when overclocked | Lower & more predictable |
| Cooling Requirements | Requires better cooling (aftermarket) | Stock cooling often adequate |
| Price Premium | Higher cost vs equivalent non-K SKU | Lower cost |
| Value for Everyday Use | Lower ROI if not overclocked | Better price-to-performance for most users |
| Value for Gamers & Creators | Stronger with tuning | Good but capped at stock |
| Power Efficiency | Lower when overclocked | More efficient in typical use |
| Recommended For | Enthusiasts & overclockers | Most general buyers |
What You Want To Overclock Your Intel CPU
Earlier you get started, you’ll need some software and hardware working in place to test everything. You will need the following.
The stock cooler CPU that came with your Intel isn’t great, and it won’t be enough to keep your CPU cool if you plan on it overclocking. Therefore, it is highly optional to buy a good aftermarket cooler.
Amazon has very affordable products. One popular option is the air-cooled Hyper 212 EVO. If you prefer
To achieve cooler temperatures, try the all-in-one water-cooled Corsair Hydro H100. Once you have a better cooler and software downloaded from above, it’s time to do a stress test to make sure everything is ok determined.
First of all, open Core Temp. Next, look at the far right turn of your taskbar – click the show hidden icons button.’
You will now see some changing numbers –they show the temperature of the cores in your CPU. An example gives above.
Unless your CPU is idle or running incredibly demanding tasks, you should aim for temperatures between 25 and 35 degrees Celsius. If you’re getting higher temperatures, you should consider cleaning or upgrading your cooler before attempting to overclock.
Overclocking your CPU will cause its temperature to increase, but if it gets too hot, its performance will drop to lower the temperature, or there may be stability issues that can crash your PC.
Next, open
Prime95. On the first boot, click just stress testing at the prompt. Select blend and then click OK. Your PC will now be subject to a stress test. All other programs may run slowly in this test, so you would close everything during this time.
It recommends doing the stress test for 5-10 minutes. During this time, you should monitor your CPU temperature with Core Temp. Your temperature should rise gradually.
The blending test works but eventually hits a wall and flattens out. This will gives you a rough idea of how far you can take your CPU overclocking. Once this occurs, you can stop the test.
To stop the test, click Test’ at the top left in Prime95 and then click stop’. Ideally, you don’t want to go higher than 70 degrees Celsius. But, realistically, it’s possible. Once you overclock your CPU, temperatures will be higher than usual than the temperature you have now.
Optimizing Intel CPUs for Specific Games: A Guide for Competitive Esports
| Game Type / Title | Key CPU Traits for Best Performance | Recommended Intel CPU Tier (2025) | Why It Matters |
| FPS (e.g., CS2, Valorant) | High single-core clocks, low latency | Intel Core i7 / i9 (higher boost clocks) | Improves frame rates and responsiveness |
| Battle Royale (e.g., Fortnite, Apex) | Strong single-core + balanced multi-core | Intel Core i7 / i5-Mid | Smooth gameplay with background tasks |
| MOBA (e.g., LoL, Dota 2) | High IPC, consistent clocks | Intel Core i5 / i7 | Boosts minimum FPS & stability |
| RTS (e.g., StarCraft II) | Strong single-core, good multi-tasking | Intel Core i7 | Better unit tracking & AI handling |
| Simulator / Strategy Heavy (e.g., Total War) | Good multi-core scaling | Intel Core i9 / i7 | Handles complex simulations |
| AAA Open World (e.g., Cyberpunk 2077) | Balanced CPU + GPU support | Intel Core i7 / i9 | Reduces CPU bottlenecks |
Optimization Tips:
- Ensure fast RAM (low latency) paired with Intel CPUs improves esports performance noticeably.
- Overclocking (on “K” CPUs) can boost esports FPS where CPU matters most.
- Maintain fresh drivers & background process control for stable competitive play.
The Best Intel CPU for a $1000 Gaming PC Build in 2025
| Build Focus | Recommended Intel CPU (2025) | Why It’s a Great Choice | Notes |
| Best Overall Gaming Performance | Intel Core i7 (Latest Gen) | Strong single + multi-core | Excellent balance |
| Best Value for Competitive FPS | Intel Core i5 (Latest Gen) | Great performance per dollar | Most cost-efficient choice |
| Best Future-Proofing | Intel Core i9 (Latest Gen) | Top performance headroom | Higher cost to build budget |
| Balanced Budget 1080p/1440p Gaming | Intel Core i5 non-K / K | Solid gaming & multitasking | K variant allows tuning |
| Best Cooling Efficiency | Intel Core (Efficient SKU) | Lower power & heat | Ideal for smaller builds |
$1000 Build Example (Intel Based):
- CPU: Intel Core i5 (Latest Gen)
- GPU: Mid-to-High tier (e.g., RTX / Radeon equivalent)
- RAM: 16–32GB DDR5
- Storage: SSD (500GB–1TB)
- Cooler: Aftermarket (if K CPU)
This combo typically hits the sweet spot for high FPS at competitive settings within a $1000 budget.
Should You Wait? Navigating Intel’s 2025–2026 Roadmap as a Buyer
| Buyer Scenario | Should You Buy Now? | Should You Wait? | Reasoning |
| Competitive Gamer | Yes | No | Current Intel CPUs already strong; waiting offers small incremental gains |
| Content Creator / Professional | Maybe | Yes | Next gen may deliver better multi-core, AI acceleration |
| Budget Gamer | Yes | Only If Price Drops | Current value Intel CPUs are competitive now |
| Laptop Buyer (Thin & Light) | Depends | Yes | Next wave may bring better battery + AI performance |
| Upgrade from >3 Gens Old CPU | Yes | No | Major upgrade now — worth buying |
| Already on Recent Gen (13th/14th) | No | Yes | Gains less dramatic — waiting is wiser |
General Guidance:
- Competitive play? No need to wait — CPUs are already strong.
- AI Focus / Future Features? Waiting may unlock better efficiency and next-gen AI cores.
- Budget & Pricing: Market shifts (sales, GPU availability) can impact best purchase timing.
Conclusion
As mentioned earlier, these are pretty straightforward and straightforward methods of overclocking your CPU. However, know all the risks involved when overclocking a CPU. It can be a problem in the long run and even kill your CPU completely.